 |  |
Monday, May 31, 2010
Stars & Stripes
Memorial Day
 |  |
Saturday, May 29, 2010
Hard to Sew Fabrics: Oilcloth

If you have any questions in regards to how to sew with oilcloth make sure to read this super informative article by Mindy Ruddock, of the Worcester County Sewing Examiner:
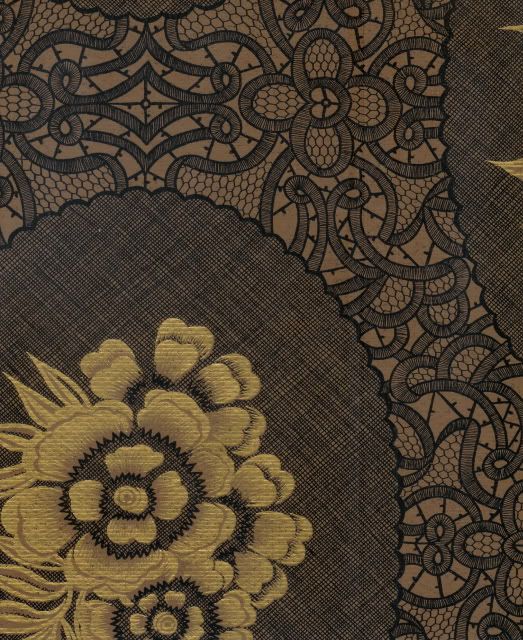
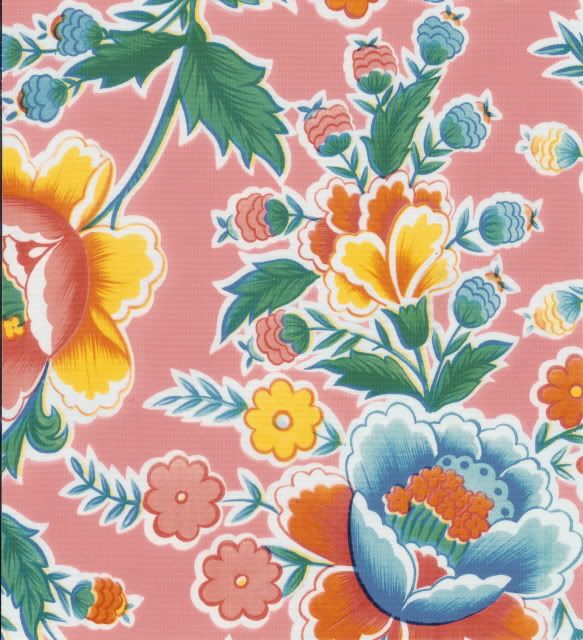
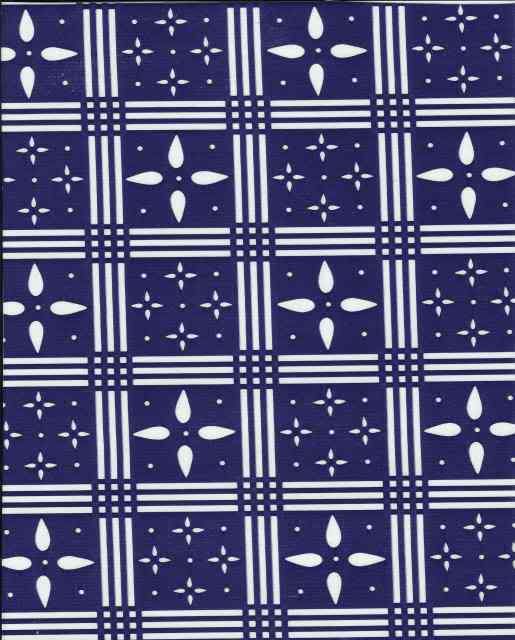
"I have been seeing recently, more and more people using oilcloth. Seeing it has sparked my interest. So I started researching the uses of oilcloth. Before we can even get to the uses we need to understand what it is. “Oilcloth (what we call it today anyway) is vinyl on a cotton mesh base. The design is printed on the top of the vinyl. The back is somewhat rough and canvas-like. Most styles are 47″ wide, but the medallion prints are 54″.”(Sew,Mama, Sew) “Oilcloth became popular in the 18th century during which it was used as an inexpensive floor and roof covering. The fabric was produced by stretching a linen cloth with a four-sided vertical frame. In order to keep the cloth from becoming brittle and breaking the fabric was coated with a sizing solution and rubbed smooth with a pumice block. Finally the cloth was coated with a mixture of linseed oil and paint pigment.”(Oilcloth International) When it comes to working with oilcloth a few things need to be considered, such as needle choice, stitch length and presser foot choice and others.
First we will look at needle choice, “use a size 16 needle, especially if you’re sewing oilcloth to oilcloth. (The package might say DENIM needles.)”(SMS) Another site suggests “for general sewing I use a size 12, I switch to a size 8 needle when I do any top stitching.”(Oilcloth Addict) Most sites that I found did say a size 16 needle or one designed for denim. See what works best for you.
Stitch length is very important when working with such a heavy fabric. “Use a longer stitch when sewing to avoid creating holes in the oilcloth. Shorten the stitch as you go around corners or curves.” (ehow.com) “When sewing with oilcloth I find it very helpful to use a longer stitch length, this helps because the oilcloth has a tendency to get sticky under the pressure foot. Normally, a stitch length of 2 is best, but for oilcloth you will want to up your setting to a 3-4 stitch length.” (OA)
Oil cloth has the tendency to creep as you are working with it so having the best possible presser foot is very important, choose a Teflon foot or a roller foot. “When you use one of these handy presser feet you take some of the friction away and have less puckers in your seams.”(OA) On the Oilcloth Addict site I found an interesting trick: “One of our readers had recently read on a sewing forum that you could use painters tape on the bottom of a regular pressure foot. This really works! I don't have a proper foot for my industrial, so there are just some projects I can't do on that machine, for example, topstitching. I didn't have any painter’s tape, so I used plain old masking tape! Place the tape on bottom of your favorite pressure foot and then just cut it away using a sharp exacto knife. Now you’re good to go.”
Pinning oilcloth can be very tough. You can leave little pierce marks if you are not careful. Cloths pins can be great for adding a lining into an oilcloth tote. Instead of straight pins you just keep the two pieces together with good old cloths pins and as you go along you just get take them off. (OA) Binder clips, and paper clips are also easy to use with oil cloth. If you do use straight pins have a pair of pliers handy to pull them out.
There is no need to be afraid of oilcloth it is a great fabric to work with. You can make so much with it. Oilcloth Addict has some amazing tutorials you can follow. Give one of these project ideas a try or try a design of your own."
· Apron
· Splat mat or mess mat
· Place mats
· Book covers
· Pen or crayon case
· Shelf or drawer liner
· Pillow (envelope style works well)
· Kitchen or outdoor chair seat cover
· Tablecloth
· Lunch sack
· Tote bag, purse, or diaper bag
· Shopping cart seat cover
· Kitchen canister covers (secure with hot glue gun)
How To
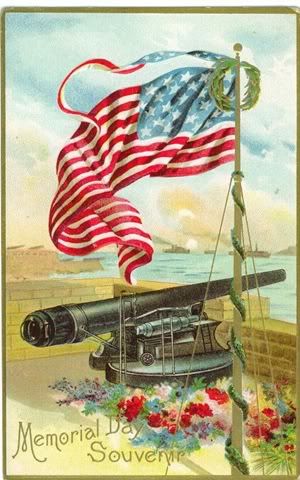
 We hope everyone has a great Memorial Day weekend! Enjoy the beautiful weather, good food, family and friends! Don't forget to honor veterans and acknowledge your appreciation for those having served in the armed forces. "Remember these simple rules for proper display of the American flag: hang your flag vertically or horizontally with its stars positioned so that they appear at the top left-hand corner when you're facing the flag. Give your flag a position of honor. And never allow the flag to touch the ground."
Tuesday, May 25, 2010
Monday, May 24, 2010
Friday, May 21, 2010
Madly Magenta
 |  |
Tuesday, May 18, 2010
Wednesday, May 5, 2010
100 % Mexicano
 Our oilcloth is 100 % Mexicano. Do not be fooled by impersonators!! We are proud distributors of genuine Mexican oilcloth!
